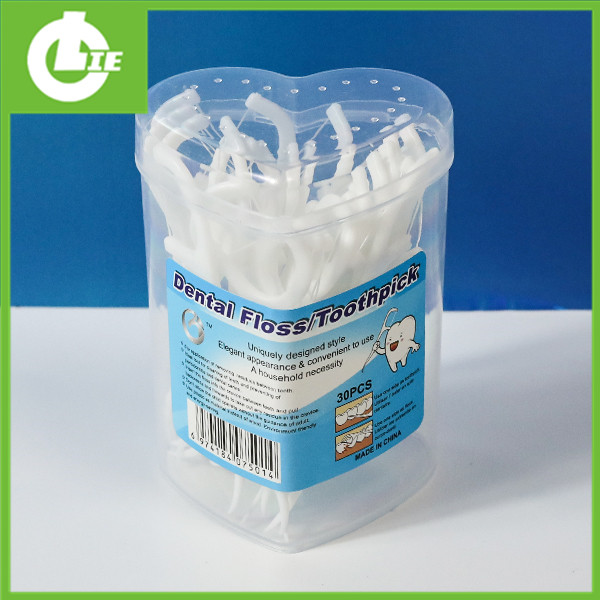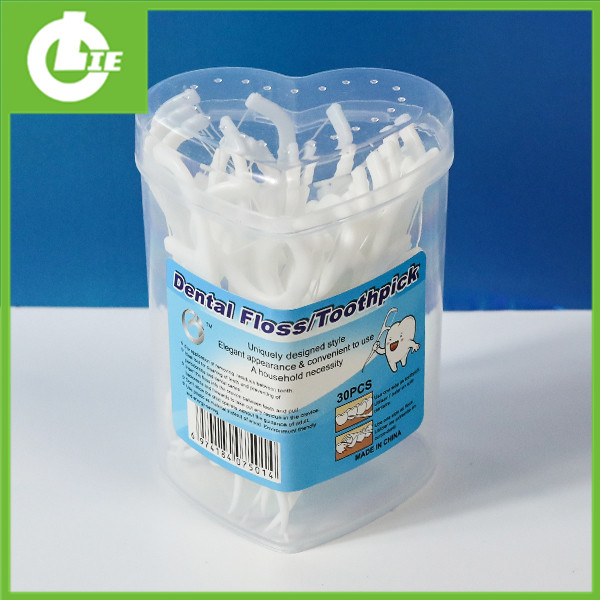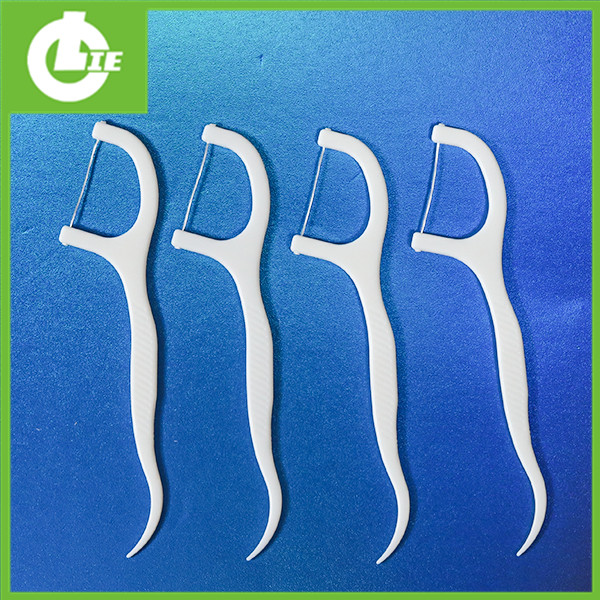
Selecciones de hilo dental desechables
Selecciones de hilo dental desechables dentales
1. Corte unos 45 cm de hilo dental (aproximadamente del mismo largo que el brazo).
2. Se enrolla un extremo del hilo alrededor del segundo nudillo del dedo medio de una mano, unas dos o tres veces, lo que puede fijar el hilo. Luego, a una distancia de unos 25 cm, enrolle el hilo alrededor del segundo nudillo del dedo medio de la otra mano durante dos o tres vueltas. De esta manera, las secciones limpias se pueden utilizar por turnos, aflojando un círculo y enrollando otro círculo al mismo tiempo.
3. Apriete el dedo medio, el anular y el meñique de ambas manos, mantenga el pulgar y el índice rectos, si el niño está jugando con una pistola.
4. At this time, turn the palm over so that the palm is outward, the two thumbs are inward and contact each other, and make the two thumbs and the two index fingers at right angles to see if you can tighten the floss. If you can, the floss is the right length between the middle fingers. If not, it can be adjusted again.
5. El pulgar es más parecido, el dedo índice hacia arriba, el pulgar de una mano y el dedo índice de la otra mano aprietan el hilo y, a través de la zona carnosa del dedo, el hilo se encuentra aproximadamente un centímetro entre el segundo. -Dedos de la mano, al mismo tiempo, el dedo de la segunda mano está recto, uña con uña.
6. Take the floss into the gap between the teeth and slide along the teeth into the joint between the teeth and gums until it meets the natural resistance. Then tighten the floss on the face of the tooth, and move up and down to scrape the face of the tooth until you hear a "squeak".
7. Después de afeitar un lado del diente, raspe el otro lado del mismo diente.
8. Al usar hilo dental en la superficie del diente, apriete la superficie del diente y déle una forma ligeramente de "C". El área de contacto del hilo dental puede cubrir toda la superficie adyacente.
9. Cuando comience a usar hilo dental, comience con el incisivo central y luego retroceda en secuencia hasta la última cara del último diente. En otras palabras, los dientes frontales más accesibles retroceden lentamente.
10. Operate the right anterior teeth area 12. The anterior teeth of the mandible are still matched by a thumb and an index finger. At this time, the index finger is adjusted up and down, and the key is to raise the arm of the index finger hand. The posterior area of the lower jaw, like the upper jaw, uses two index fingers.
| Número de producto | LY-F-01 | Diseño personalizado | Aceptar |
| Especificación | 2,5*15cm | Origen | FUJIAN |
| embalaje | 20-50 unidades/caja | Especificación de embalaje | Alto 7,5 cm. |
| Color | blanco | Productos desechables | SÍ |
| degradables | SÍ | Aviso | Hay un error en la medición, que está sujeto al objeto real. |

